At a time when smartphones are always at hand, taking photos on film is almost like a small ritual. And that's exactly what makes it so appealing: the deceleration, the waiting - and ultimately the anticipation of the developed negatives. But what actually happens to your film after you have handed it in to the lab? Here we take you on a short journey through the process of analogue film processing using a colour film - step by step.
1. acceptance & preparation: the film arrives
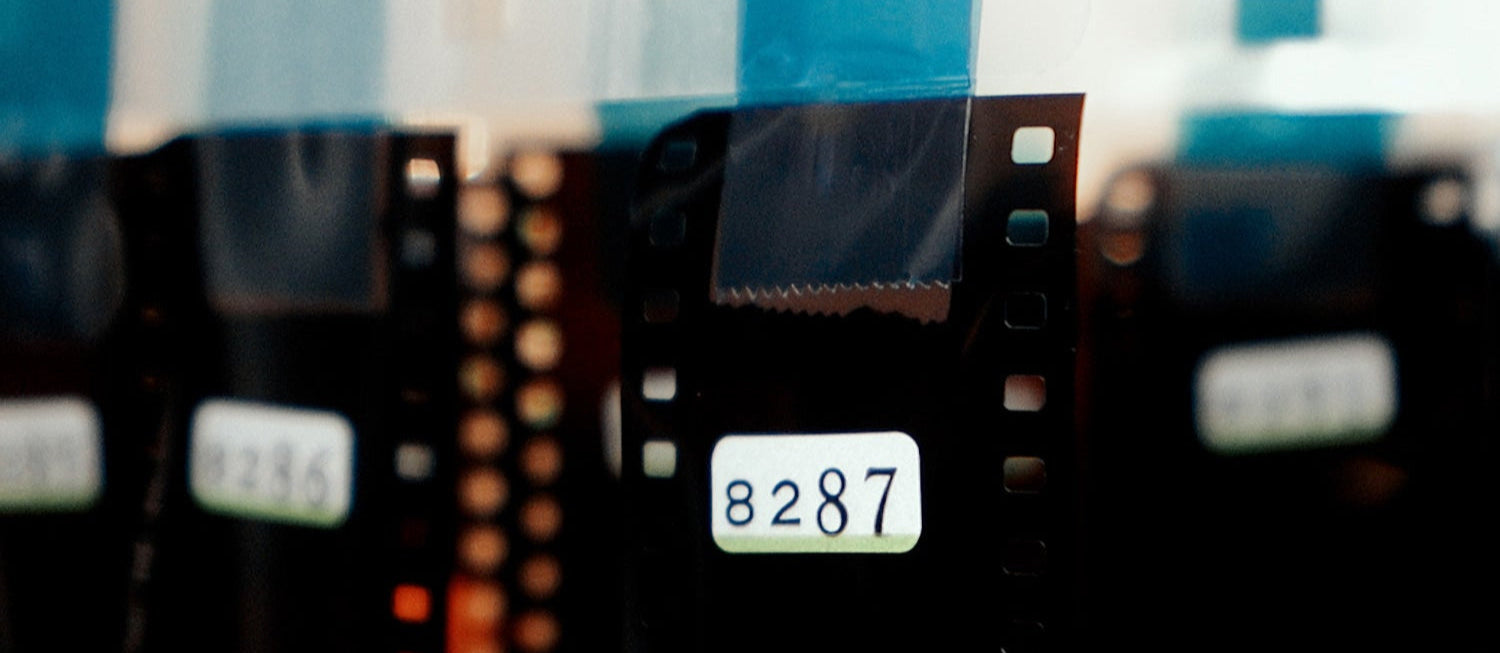
As soon as your film arrives at the lab, either handed in on site or sent in via our online lab, it is first prepared for processing. To do this, the small tab is pulled out of the film cartridge with a so-called "film puller" and cut off. For medium format, the film is first transferred to a dark bag in machine-compatible, light-tight film cans.

Depending on the machine and process, the film can now be processed in two different ways:
Leader Card: The film is glued to a so-called leader card - a solid carrier material that is required to ensure that the film is pulled through the machine correctly.

Dip & Dunk (hanger): Alternatively, the film can be hung on a hanger. This is then placed in a dip & dunk processor, where the film is automatically pulled through the baths in a vertical position.

2. the C-41 development: chemistry meets precision
C-41 development - the standard process for colour negative film - follows a fixed schedule in both cases. In the continuous processor, the film passes through several chemical baths over many rolls:
- colour developer
- Bleach bath
- Fixer
- Soaking
- Drying
The entire process is precisely programmed and runs at a precisely controlled temperature and time. At the end, your film is dry, developed and ready for the next step.
3. the scan: analogue meets digital
Now it's going digital - but the good way. The developed film is hung up and awaits scanning with a high-quality Noritsu scanner.

Dieser zieht den Film automatisch in die Scannerbühne, erkennt die einzelnen Frames selbstständig und beginnt mit dem Digitalisieren. Dabei können bereits grundlegende Anpassungen wie Belichtung, Kontrast und Farbbalance vorgenommen werden – ohne den Look des Films zu zerstören.
Der Noritsu bietet verschiedene Bühnen für 35mm Kleinbildfilm und 120er Mittelformatfilm, sodass jedes Format optimal verarbeitet werden kann.

4. finishing: the final touches
The digitised images are now processed and sent directly to you for download - often on the same day or within a short time.
But the film itself is not forgotten either:
- 35mm film is inserted into transparent archival film using an automatic sleeving machine.
- 120 film is cut by hand and also carefully sleeved.

Finally, your negatives either end up in the collection box or are sent back to you by post - neatly packaged so that your analogue work arrives safely.
Conclusion: More than just chemistry
Developing analogue film is far more than just a technical process - it's a craft where every detail counts. From precise clamping to the final scan, a well-coordinated team and precise technology ensure that your analogue images unfold their full potential.

So next time you hand in your film - remember how much care and technique went into every step. And savour the special feeling when your images from the past finally arrive in the present.
Would you like to send us a film for development and digitisation? No problem, just click on the corresponding product!


We even have a student discount:


And we also offer special formats and processes such as 4x5 and E-6:


